


Part 3 of 5
Software
3D geophysical inversion, alteration classification and concession GIS in one platform.
Chapter 1 of 5
It starts as scattered readings.
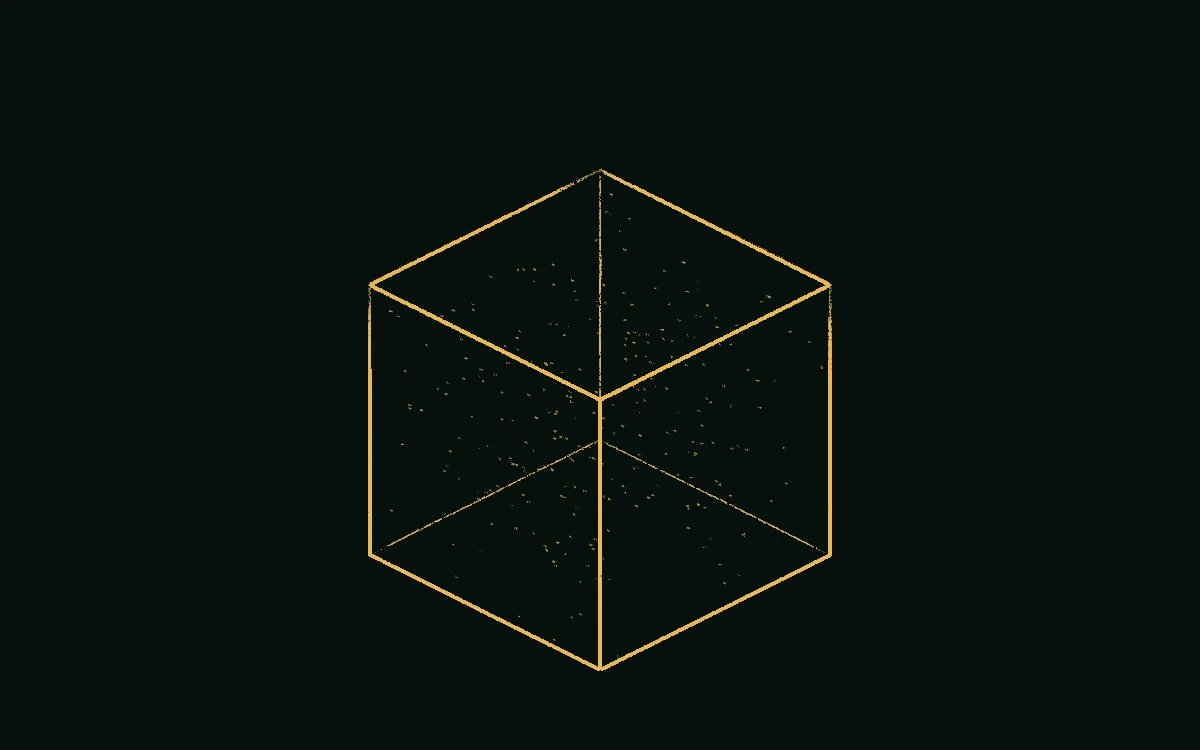
Every survey leaves a cloud of separate measurements. On their own, they're hard to read.
- Readings. Each point is one measurement at one place.
- Survey volume. The block of ground the survey covers.
A cloud of points still isn't a picture.
Chapter 2 of 5
Readings become a 3D image.
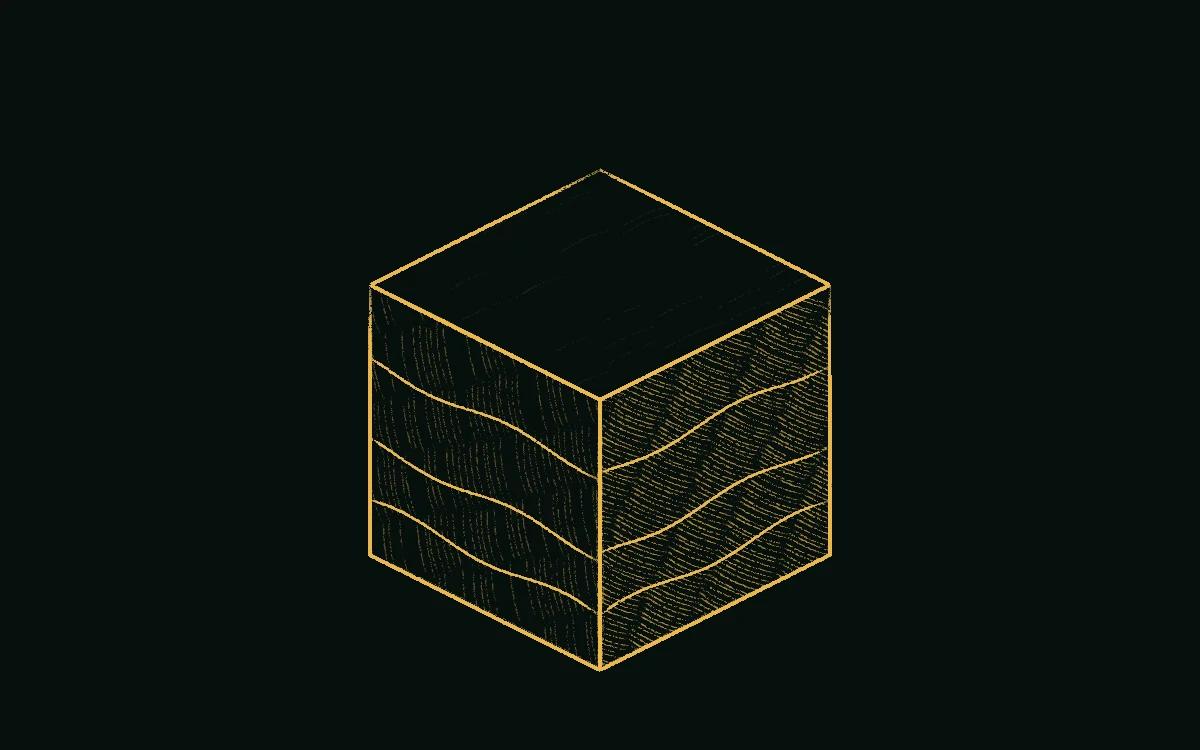
Inversion turns those measurements into a model of the ground, so what lies below the surface has a shape you can see.
- Inversion. Works out which model of the ground best fits the readings.
- Layers. Similar readings group into bands you can see.
Now there's a shape. The next step is to look inside it.
Chapter 3 of 5
Cut through it.
Slice the model at any depth or angle to look inside and see where the target sits.
- Slice. Move it to any depth or angle.
- Cut face. Shows what the model holds at that position.
One survey is a single moment. The ground can change.
Chapter 4 of 5
Add time, and it's 4D.
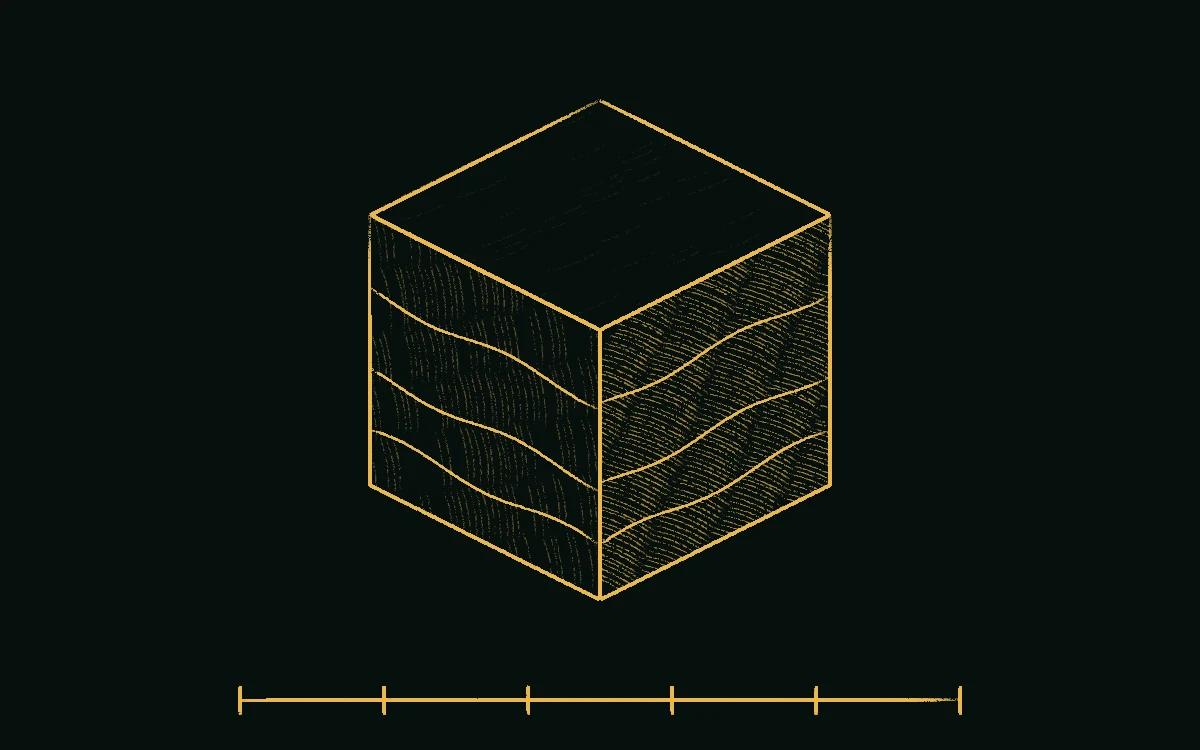
Repeat surveys show how the ground changes between dates, so you can step through them and compare.
- Changing body. Step through the dates to see a feature change.
- Timeline. Each mark is one repeat survey.
Now you know its shape and how it changes. What's left is the decision.
Chapter 5 of 5
Identify the target.
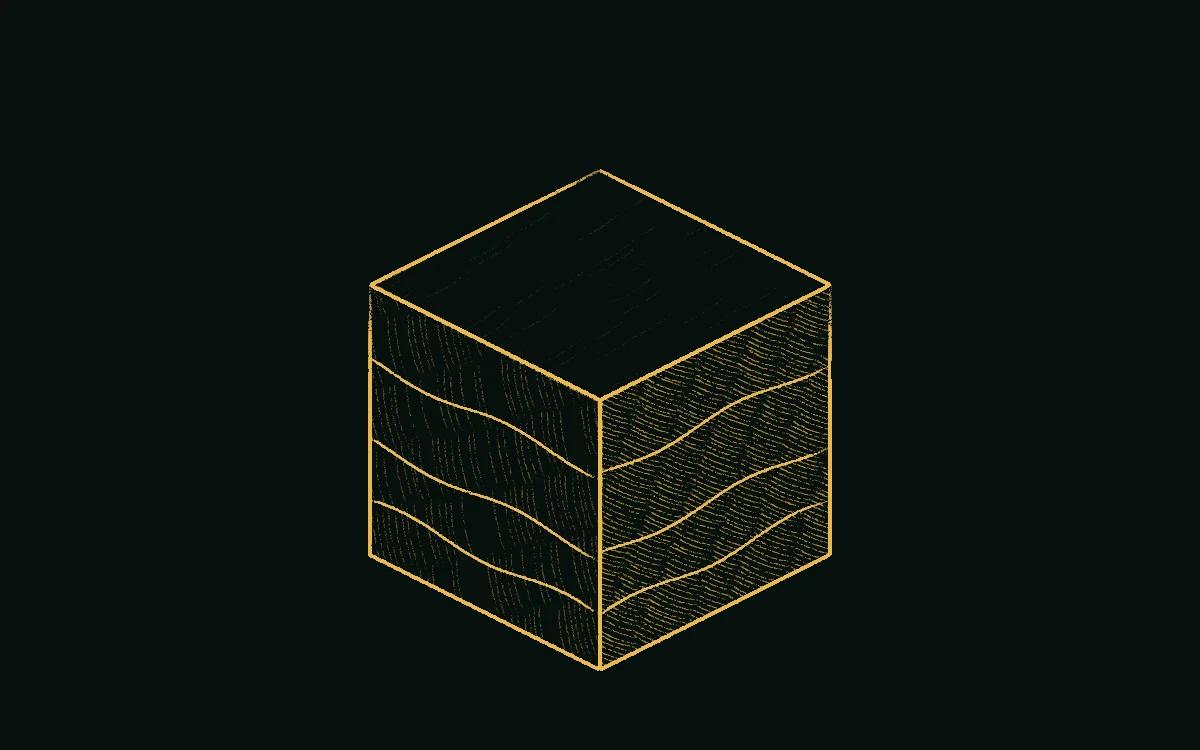
We give you the 3D and 4D images, so your team can identify what's down there and decide what to do next.
- Target. The feature your team wants to investigate.
- Your images. The 3D and 4D images are yours to review.
- Next step. Your team decides where to work next.
What we supply for this

Talk to a specialist
Describe the site, the target and the timeline. We reply with a plan and a price.
Next in the story